Building a Star Trek Home Automation Project
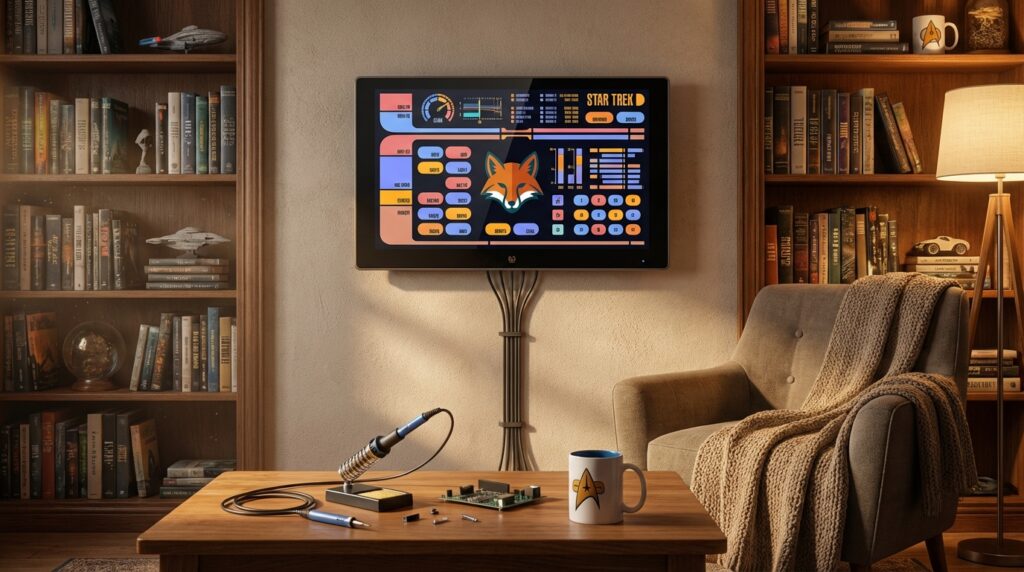
Building a Star Trek home automation project has been my dream since I first saw the LCARS interface on Star Trek The Next Generation. I wanted an authentic-looking control panel in my living room because it would combine fandom with practical home automation. The project blends Home Assistant, ESPHome, LVGL and a Waveshare touch display to make the idea tangible.
As a maker I love soldering, microcontroller programming and custom dashboards, so this build suited my skill set. The LCARS theme guided every design choice, therefore I sketched layouts in Adobe Illustrator before coding YAML in ESPHome. I also stacked shapes in LVGL to recreate those iconic buttons and gauges. The result looks beautiful and makes my nerd heart extremely happy.
However the motivation went beyond aesthetics; I wanted a fast, tactile way to control lights, media and smart scenes. This guide will walk you through parts, wiring, firmware and UI tricks. Along the way you will learn practical tips for microcontroller integration, touch display setup and dashboard polishing.
Technical components
Home Assistant acts as the brain of this Star Trek home automation project. It runs locally and orchestrates devices, scenes and automations. Because it exposes a well documented API, it integrates with cloud and local services easily. Learn more at Home Assistant.
ESPHome provides the firmware glue for the microcontroller. It lets you write readable YAML instead of low level C code, which speeds microcontroller programming and debugging. As a result, the ESP32-S3 can publish sensor values and receive commands for switches and lights. See device guides and examples at ESPHome.
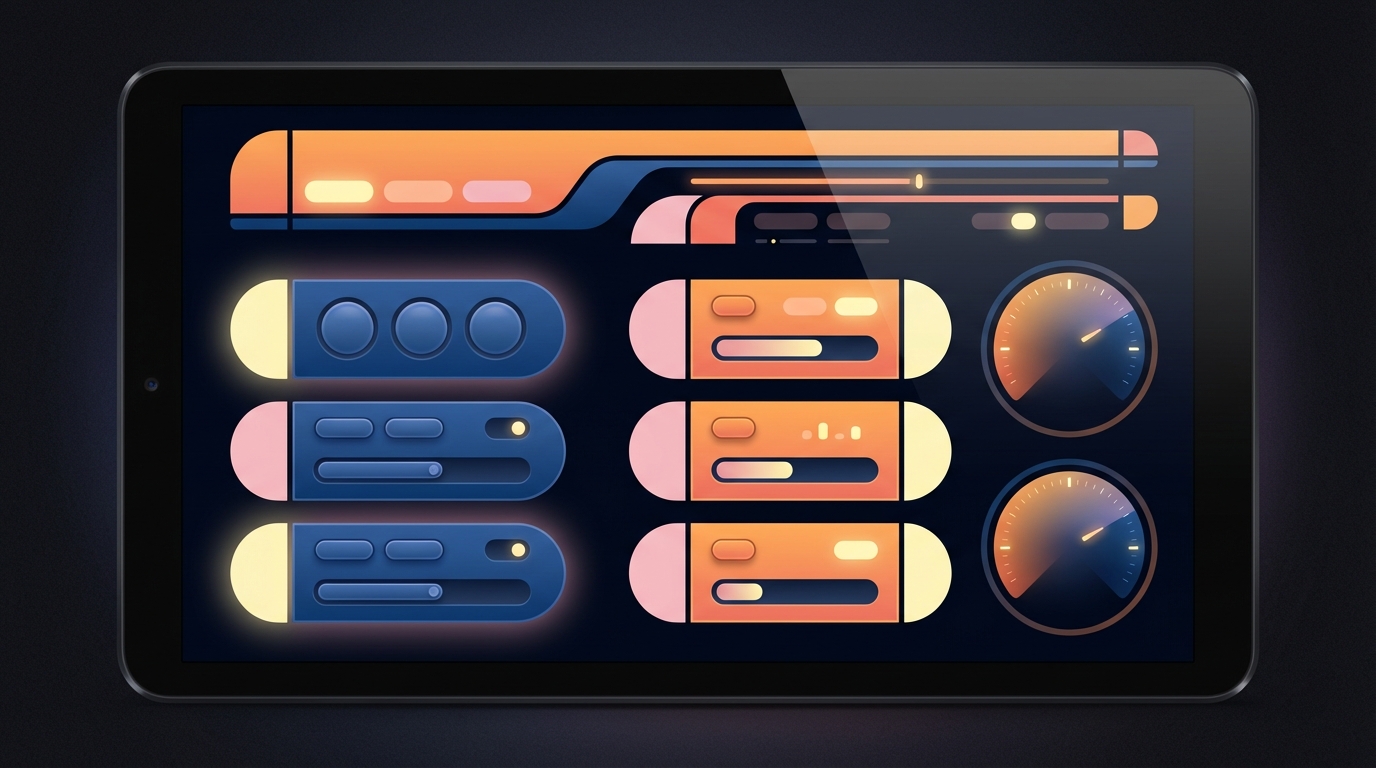
LVGL handles all of the on-screen visuals and touch widgets. It draws LCARS-like rounded panels, buttons and circular gauges with efficient rendering. Therefore LVGL fits well on constrained hardware while still supporting animations and custom dashboards. Official docs live at LVGL.
The Waveshare 7 inch touch display provides the tactile interface for this build. I used a capacitive HDMI model that offers crisp colors and responsive touch over USB. It pairs with an ESP32-S3 or a small single board computer for driving graphics and touch input. Check the product page at Waveshare 7 inch Touch Display.
Bringing everything together requires networked communication and careful wiring. The microcontroller speaks over Wi-Fi and uses the ESPHome API to register switches, sensors and buttons with Home Assistant. For example, a touch event in LVGL triggers an HTTP or native API call, which then runs an automation or queries an external API. Also, crafting custom dashboards means mapping LVGL widgets to Home Assistant entities and state changes. Microcontroller programming experience helps when you tune touch sampling, debounce logic and power settings.
Together these components form a responsive, authentic-feeling Star Trek control panel that blends maker craft with practical home automation.
| Technology | Main Features | Role in the Project |
|---|---|---|
| Home Assistant |
|
Orchestrates control panel actions and connects smart home devices. |
| ESPHome |
|
Provides firmware for ESP32 microcontroller, enabling communication and control. |
| LVGL |
|
Renders the LCARS-style interface on the touch display. |
| Waveshare 7” Display |
|
Serves as the tactile and visual interface for interacting with controls. |
Design and programming process
Design began with vector mockups in Adobe Illustrator. I blocked out panels, curves and color regions to match LCARS proportions. Then I exported simple PNGs for reference while coding. “An honest to goodness authentic-looking LCARS touchscreen in my living room” was the design goal, and that kept the layouts focused on spacing and touch targets.
Using Illustrator sped iteration because vector shapes scale without loss. I used layers to separate background plates, buttons and gauges. Because the project needed exact radii and consistent padding, Illustrator made alignment painless. For more about the tool see Adobe Illustrator.
Firmware came next with YAML in ESPHome. I defined inputs, outputs and device discovery in clear, human readable blocks. As a result microcontroller programming stayed fast and repeatable. The ESP32-S3 ran LVGL and the touch stack while ESPHome handled Home Assistant integration. Full ESPHome docs are at ESPHome Documentation. Also consult Home Assistant integration details at Home Assistant Integration when mapping entities.
On-device UI used LVGL by stacking simple shapes to form LCARS buttons and gauges. I created rounded rectangles, arcs and circles, then layered them for depth. LVGL’s object model makes it easy to animate states and respond to touch. Therefore a single touch event can update a widget, call an ESPHome service, and trigger a Home Assistant automation.
During development I tuned touch sampling, debouncing and redraw regions. Also I tested color contrast for living room light levels to keep the interface readable. “It’s beautiful. And it makes my nerd heart extremely happy.” That reaction came when the buttons lit and the scene changed immediately. The workflow blends graphic design, microcontroller programming and dashboard logic into one satisfying maker project.
In conclusion, the Star Trek home automation project reveals how creativity and nostalgia can fuel innovative tech solutions. Combining maker culture and nerd fandom, this project exemplifies how dreams of yesterday can shape today’s home automation tech, ushering in futuristic living spaces. From designing and programming to real-time interaction, the project highlights how technologies like Home Assistant and ESPHome make high-tech dreams achievable. Each part synergistically helps craft an immersive Star Trek experience.
These projects act as innovative playgrounds for makers and tech enthusiasts to express their passion and skills. The excitement of bringing the LCARS interface to life in a personal home environment can’t be overstated. LeisureQuest champions this spirit, embodying a mission to inspire through leisure projects, whether they’re rooted in pop culture, cutting-edge tech, or both.
For those eager to dive into such creative projects or explore new frontiers of DIY ingenuity, visit LeisureQuest for more ideas and inspiration. Here you’ll find a community of like-minded enthusiasts ready to explore, learn, and push the boundaries of what’s possible through leisure.
Frequently Asked Questions (FAQs)
What skills are necessary to start the Star Trek home automation project?
A basic understanding of soldering, microcontroller programming, and familiarity with tools like Adobe Illustrator, LVGL, and YAML within ESPHome is recommended. These skills allow for effective integration and customization of the project.
What components and costs are involved?
Key components include a WAVESHARE 7” touchscreen display, an ESP32-S3 microcontroller, and access to platforms such as Home Assistant and ESPHome. Costs may vary based on equipment and materials sourced but can range from $100 to $300 for the setup.
How compatible is this project with other smart home devices?
Thanks to Home Assistant’s extensive API support, this project can integrate well with a wide range of smart home devices, providing user-friendly control and automation.
Can the LCARS control panel interface be customized?
Yes, the LCARS interface is fully customizable. Using Adobe Illustrator and LVGL, you can design panels, buttons, and displays to suit your aesthetic and functional preferences.
Where can I find more information and support for this project?
Visit LeisureQuest for detailed guides, community forums, and inspiration for embarking on this or similar inventive projects.