DIY essential tool kit: Beginner Projects & Retro Gadget Restoration
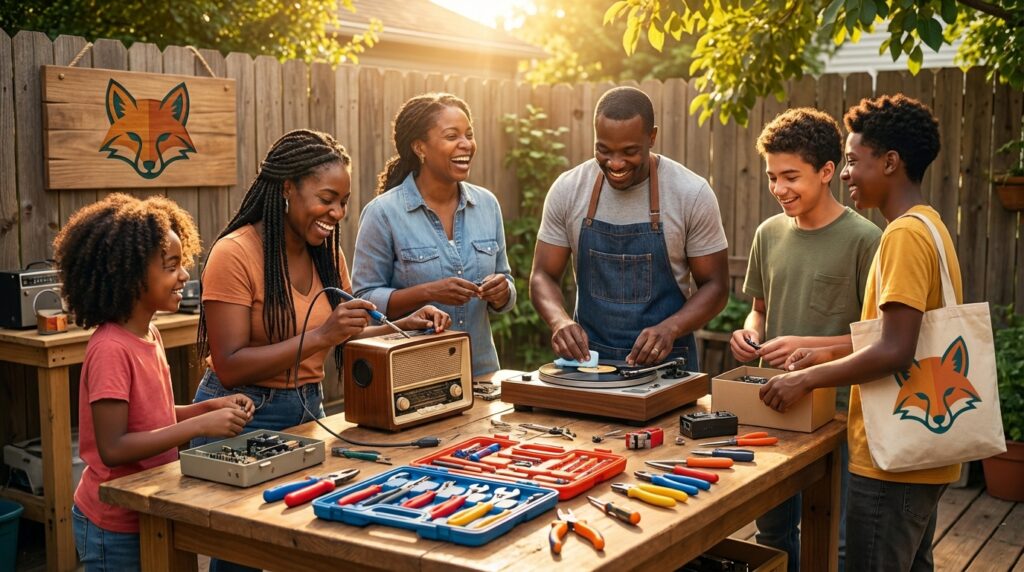
DIY essential tool kit is more than a collection of hardware; it’s an invitation to make, mend, and learn. If you’ve felt the spark of curiosity when fixing a wobbly chair or cleaning out an old radio, this guide is for you. We’ll cover the compact set of hand tools and safety gear every beginner should own. Then we’ll lead you through approachable starter projects that build confidence fast. Finally, we’ll introduce retro gadget restoration — the rewarding hobby of bringing vintage radios, game consoles, and analog gadgets back to life.
Expect clear, step-by-step explanations, targeted shopping guidance, and practical safety tips. Projects are chosen for low cost and high learning value. Retro restoration sections explain basic troubleshooting, parts sourcing, and when to ask for help. No special skills required. The tone stays encouraging and accessible. Read on to discover which tools belong in your first kit, how to use them, and how to plan a first restoration that excites rather than intimidates.
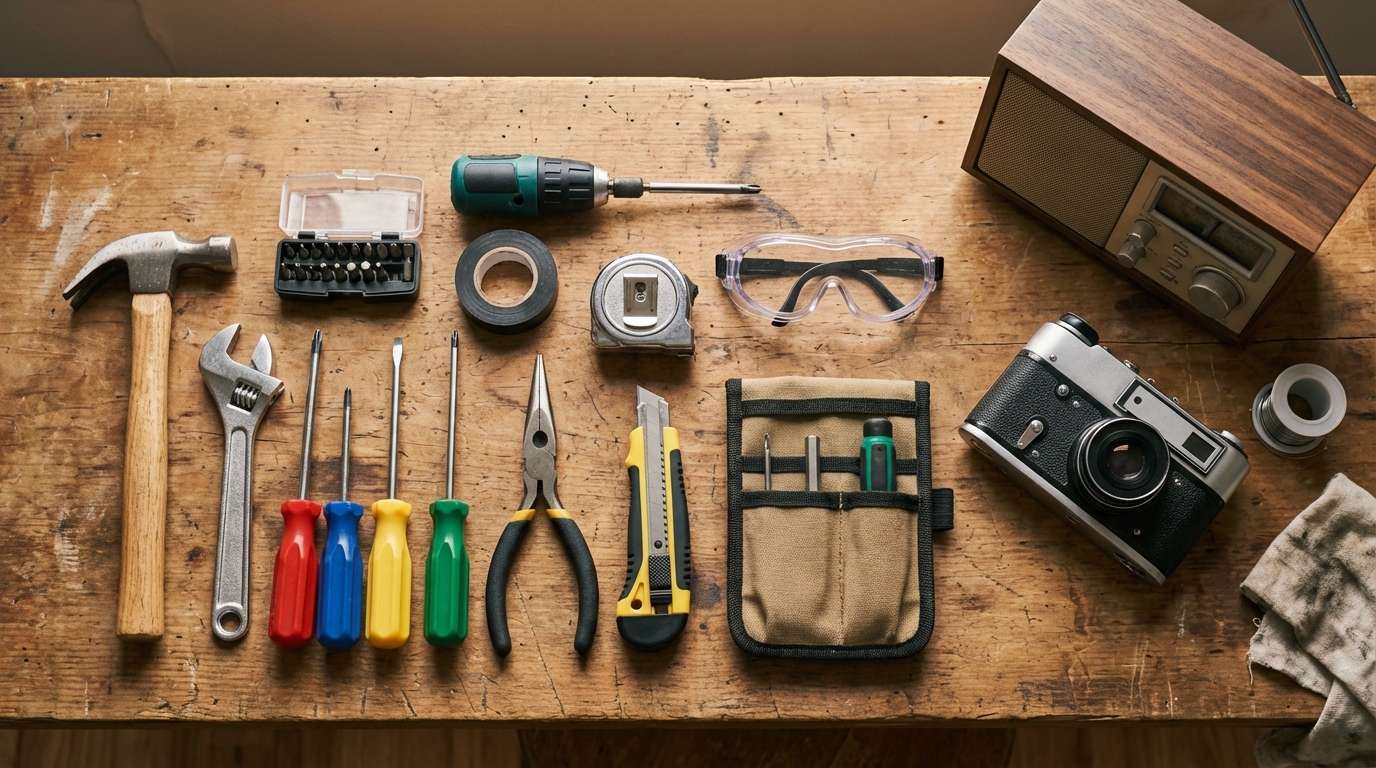
Illustration: A neatly arranged beginner DIY tool kit beside classic retro gadgets to inspire restoration projects.
DIY essential tool kit: Must-have tools for beginners
A compact, well-chosen DIY essential tool kit helps you tackle small repairs and grow skills. Start with versatile, durable tools and add specialty items as projects demand. Below are the core tools to own and why each matters.
- Screwdriver set (flat and Phillips, plus precision bits): Choose a set with a magnetic bit holder and common sizes. Precision screwdrivers help with small electronics and retro gadgets.
- Cordless drill with bits: A lightweight drill replaces manual screwdrivers for faster work. Choose a 12–18V model with a clutch.
- Hammer (claw): For driving and removing nails and light demolition.
- Pliers: Slip‑joint pliers for general gripping, and needle‑nose pliers for tight spots and wire work.
- Adjustable wrench and small socket set: Use for bolts and plumbing fittings; a compact socket set increases versatility.
- Tape measure and small level: Accurate measuring prevents mistakes.
- Utility knife and wire strippers: For cutting, trimming, and electrical prep.
- Multimeter: Essential for testing continuity, voltage, and diagnosing electronics during retro restoration.
- Soldering iron and desoldering pump: Choose a temperature‑controlled iron for circuit work.
- Tweezers, small brushes, and magnifier: For cleaning and handling tiny components.
- Safety gear: Safety goggles, nitrile gloves, and a basic respirator for soldering fumes.
Tips for choosing quality without overspending
- Prioritize spend: buy better quality for the drill, multimeter, and soldering iron.
- Buy sets for common tools: screwdriver and plier sets often offer better value.
- Test grip and weight in person where possible; ergonomics beat brand names.
- Look for lifetime guarantees on hand tools. Mid‑range brands often hit the sweet spot.
- Consider second‑hand for sturdy items like hammers and clamps.
Care and storage
Keep tools clean and dry. Oil moving parts lightly. Store in a small toolbox or wall rack for quick access and longer life.
This foundation prepares you for basic repairs and the first retro gadget restoration projects. Add specialty tools gradually as your skills grow.
| Project Name | Difficulty Level | Required Tools | Estimated Time | Fun Factor |
|---|---|---|---|---|
| Vintage AM/FM tabletop radio — capacitor refresh & cleaning | Moderate | Multimeter, soldering iron, desoldering pump, screwdrivers, contact cleaner, replacement capacitors | 2–4 hours | 5/5 |
| Film camera CLA (clean, lube, adjust) | Moderate | Small screwdrivers, needle-nose pliers, cleaning brushes, lubricant, magnifier | 2–3 hours | 4/5 |
| Turntable belt replacement and cleanup | Easy | Philips screwdriver, needle-nose pliers, soft brush, replacement belt | 30–60 minutes | 4/5 |
| Handheld console (e.g., Game Boy) — button contacts & shell cleaning | Easy | Precision screwdrivers, isopropyl alcohol, contact cleaner, small brush | 1–2 hours | 5/5 |
| Vintage wooden radio cabinet refinishing (surface only) | Easy–Moderate | Sandpaper (various grits), tack cloth, stain or oil, brushes, protective gloves | 3–6 hours (includes drying) | 3/5 |
| Tube radio bulb replacement and basic alignment | Moderate | Screwdrivers, socket set, tube tester or multimeter, service manual | 2–5 hours | 3/5 |
DIY essential tool kit: Turntable belt replacement — an easy beginner project
Turntable belt replacement is a perfect first retro gadget restoration and beginner project. It teaches disassembly, cleaning, and reassembly without soldering. You’ll need: a Phillips screwdriver, soft brush, lint-free cloth, isopropyl alcohol, and a replacement belt (measure the old one or consult the model). Also keep your DIY essential tool kit nearby.
Step 1: Document and prepare
Take photos of the turntable from different angles. Unplug the unit and work on a clean surface. Remove dust and debris with a soft brush.
Step 2: Remove platter and old belt
Use the screwdriver only if needed to remove screws. Lift the platter gently; the belt may slip off the motor spindle. Note how it routes—photos help when reassembling.
Step 3: Clean contact surfaces
Wipe the motor spindle and inner platter rim with isopropyl alcohol. Remove sticky residue that can cause slipping or uneven speed.
Step 4: Measure and fit new belt
Measure the old belt’s length or check the model online. Fit the new belt gently onto the inner platter groove and then around the motor spindle. Avoid overstretching and align the belt evenly.
Step 5: Reassemble and test
Replace the platter and any screws. Plug in and play a record or use a test tone. Listen for wobble, speed changes, or unusual noise.
Troubleshooting and tips
If speed is slow, check belt tension and motor cleanliness. Keep spare belts for popular models. Take your time; retro gadget restoration rewards patience. Celebrate small wins — a smooth-sounding record is progress. Enjoy the process.
Conclusion
A small, well-curated DIY essential tool kit does more than store hardware. It gives beginners confidence to start, learn, and solve problems. With basic tools at hand, troubleshooting feels possible. Retro gadget restoration becomes a creative practice, not an intimidating task. Restoring a belt-driven turntable or cleaning a film camera teaches patience, observation, and practical skills. Each successful fix builds skill and joy.
LeisureQuest exists to help you make the most of free time through hobbies like DIY and restoration. Use our step-by-step guides, tool recommendations, and safety tips to move from curiosity to competence. Start with simple projects and celebrate small wins. Connect with communities, swap parts, and ask for help when you need it.
If one sentence sums it up: start small, carry the right tools, and enjoy the process. Your first DIY essential tool kit is an invitation to explore, create, and preserve the past. Visit LeisureQuest for more guides, project ideas, and inspiration. Happy building.
Frequently Asked Questions (FAQs)
How do I assemble a budget-friendly DIY essential tool kit for beginners?
Start by prioritizing categories, not brands. Focus on a basic set of hand tools, measuring tools, a simple drill, and basic electronics tools if you plan to work on gadgets. Buy mid-range quality for the drill, multimeter, and soldering iron. Buy screwdrivers and pliers in sets for value. Consider trusted second‑hand finds for heavy items. Aim for tools you will use often rather than specialty items.
Are retro gadget restoration projects suitable for absolute beginners?
Yes. Choose mechanical-only or cleaning tasks first, such as turntable belt swaps or casing cleaning. These teach disassembly and care without complex electronics. Move to soldering or capacitor work only after practicing and learning safe procedures.
Where can I find replacement parts for vintage gadgets?
Check online marketplaces (eBay, Etsy), electronics surplus stores, and specialist parts suppliers. Join model-specific forums or Facebook groups—members often sell parts or advise modern substitutes. Local repair cafés and thrift shops can also be good sources.
What safety precautions should beginners follow when working on electronics?
Unplug devices and remove batteries first. Discharge large capacitors before touching circuits. Use eye protection, ventilated spaces when soldering, and insulated tools for live work. If you encounter high voltages or unclear wiring, stop and ask a qualified technician.
How can I learn skills and get help when I’m stuck?
Use step-by-step video tutorials, repair guides, and service manuals. Join maker spaces, online forums, and local repair meetups. Document your steps with photos and ask specific questions—clear details get faster, better help.