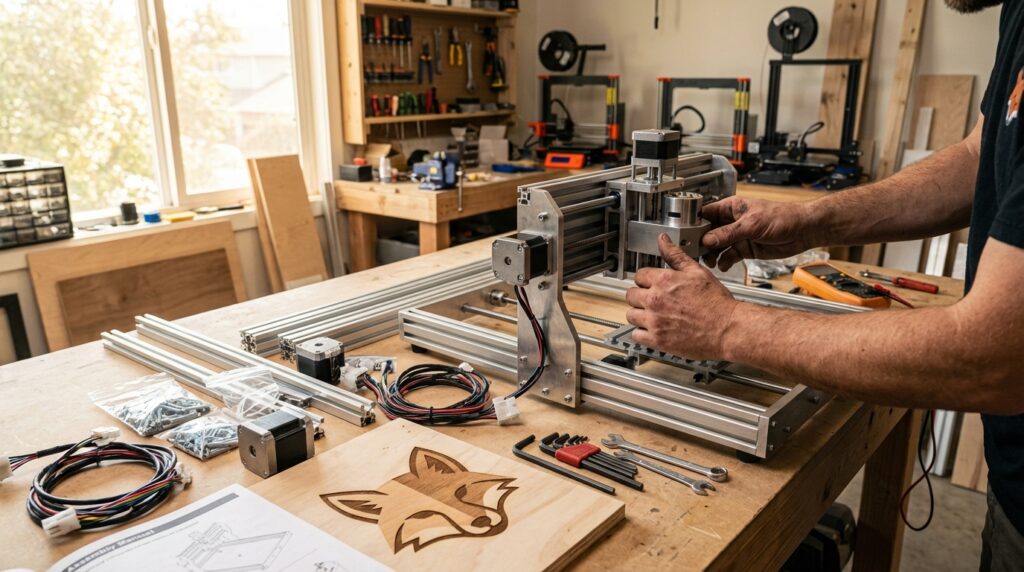
DIY workbench: Turn a Garage or Backyard into Your Custom Workshop
Imagine stepping into a weekend project that takes a corner of your garage or a patch of backyard and turns it into a humming, customized workshop. A DIY workbench is the heart of that transformation — a sturdy, personal station where ideas become prototypes, repairs get done fast, and tools find a tidy home.
This article walks beginners through easy, customizable setups and fast upgrades. You’ll learn to choose a layout, pick modular components, and add storage and power options without specialist skills. Short projects and simple materials keep progress visible.
Visualize pegboards bright with hand tools, adjustable shelves holding heavy projects, and a work surface sized exactly for your needs.
Whether you have a narrow garage bay or an open backyard shed, these plans adapt. Expect quick wins you can complete in an afternoon and upgrade paths that grow with your skills. By the end, you’ll know where to start, what parts to buy, and which tweaks deliver the biggest payoff.
Benefits of a DIY workbench
A customizable DIY workbench brings clear advantages for hobbyists and beginners. It adapts to your tools, streamlines how you work, and helps you get the most from limited garage or backyard space.
-
Adaptability to projects and tools
Build a bench to fit the gear you own. Modular designs let you choose widths from small 2×4-foot tops to benches that extend toward 8 feet. Adjustable shelf brackets give storage flexibility as your collection grows.
-
Faster, cleaner workflow
When tools and parts have permanent places, projects move faster. Add an accessory rail and organizer bin to keep small parts visible and reachable. A 35″ work height option improves ergonomics for common tasks.
-
Space efficiency in tight areas
Vertical storage and configurable shelves maximize floor space. Use narrow benches in single-bay garages or join modules across a backyard shed to create larger work areas without wasted room.
-
Strength and longevity
Durable bench legs that support heavy loads make the surface reliable for demanding projects. High load capacity means you can mount vises, power tools, and heavier jigs safely.
-
Beginner-friendly upgrades
All-in-one kits simplify assembly and reduce guesswork. With modular parts and adjustable shelves, you can start small, spend less up front, and upgrade pieces as skills and needs grow.
Choosing a customizable bench reduces friction in every project and scales with you from first build to advanced hobby work.
How to build your DIY workbench — step-by-step
Planning and sizing
Decide where the bench will live. Measure depth and length. Pick a module size: 2×4 for tight spots, 4×8 for full projects, or join modules to reach 8 feet. Choose a 35″ work height for common ergonomic tasks.
Tools and materials
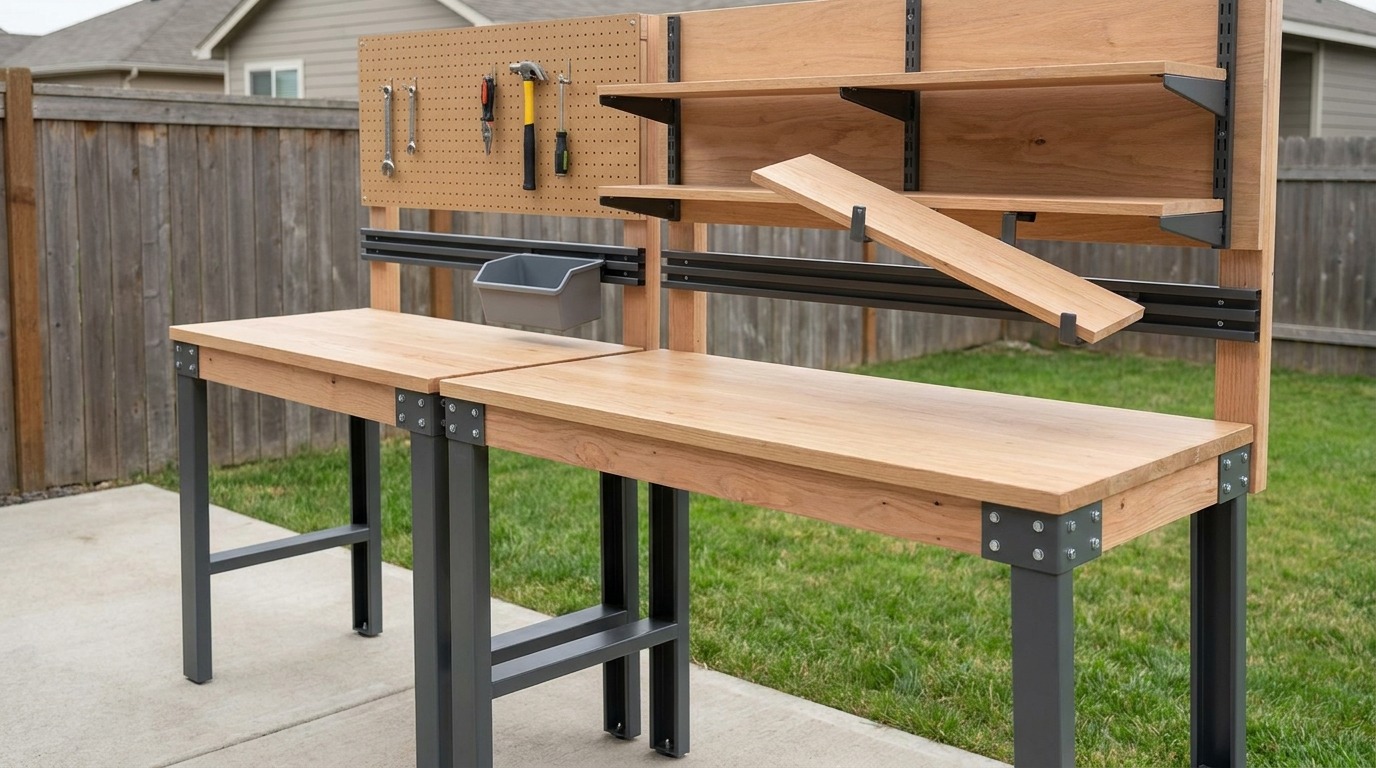
Gather basic tools: cordless drill, level, tape measure, screws, clamps, and safety gear. If you use the Ryobi Framework Workbench kit, the package includes four durable legs, four adjustable shelf brackets, a LINK accessory rail, an organizer bin, and the hardware you need.
Assembly steps
- Unpack and inventory parts. Lay components on a clean, flat surface and check the hardware.
- Attach the legs to the chosen frame or worktop per instructions. Keep bolts snug but adjustable for final leveling.
- Place and secure the work surface. Confirm the bench height near 35″ and test stance comfort.
- Install adjustable shelf brackets and slide shelves into position. Space shelves for bulky items like power tool cases, paint cans, or battery chargers.
- Mount the LINK accessory rail on the bench face or back. Clip the organizer bin where small screws and parts are easy to reach.
- Add pegboard or magnetic strips behind the bench for hand tools and quick access.
Leveling, load, and anchoring
Use a level and shims on uneven concrete or packed soil. The kit’s legs support heavy loads — plan for mounting a vise or bench-top tools. Anchor the bench to a wall or floor when operating heavy equipment.
Customization tips
- Configure shelves to hold batteries, chargers, and toolboxes. Adjust brackets as your collection grows.
- Combine modules to form longer or L-shaped layouts without rebuilding a base.
- Reserve one module for power and charging with cable management and a power strip.
Beginner-friendly upgrade path
Start with a single module to learn assembly. Add shelves, the LINK rail, or extra modules later. All-in-one kits remove guesswork and make upgrades plug-and-play.
Safety and maintenance
Periodically retighten hardware and inspect brackets for wear. Keep combustible materials away from power tools. Regular checks extend the bench life and protect your projects.
Comparison: Popular modular workbench kits for beginners
Below is a quick comparison to help you choose a starting kit.
| Brand / Product | Price | Weight Capacity | Size Options | Customization Features | Where to Buy |
|---|---|---|---|---|---|
| Ryobi Framework Workbench | $100 (arriving Jun/Jul 2026) | Up to 1,000 lbs | 2×4 ft, 4×8 ft, expandable up to 8 ft | Four durable legs; four adjustable shelf brackets; LINK accessory rail + organizer bin; included hardware | Home Depot (coming soon) |
| Gladiator modular benches | Varies by model | Varies by model | Multiple modular sizes and add-ons | Shelving, drawer modules, GearTrack/track compatibility | Home Depot; Gladiator |
| Husky modular workbench systems | Varies by model | Varies by model | Bench + storage combos; modular add-ons | Lockable cabinets, adjustable shelves, pegboard-ready panels | Home Depot |
| DIY modular kit (custom build) | Material cost varies | Depends on build | Fully customizable (any dimensions) | Total control over materials, shelving, power integration, finishes | Local lumberyards, hardware stores, online retailers |
Conclusion
Building a customizable DIY workbench turns idle corners of your garage or backyard into places of practical creativity. A modular bench lets you tailor height, storage, and layout to the projects you love. That flexibility speeds work, saves space, and keeps tools organized so every session feels productive and fun.
For beginners, starter kits and modular components lower the barrier to entry. Simple assemblies, adjustable shelves, and accessory rails let you start small and evolve the workspace as skills grow. The result is a durable, efficient station that supports heavier tasks and expands with new needs.
This kind of hands-on project is exactly the kind of high-quality leisure LeisureQuest champions. We curate ideas that turn free time into meaningful learning, playful experimentation, and useful outcomes.
Ready to keep exploring workshop projects and weekend builds? Visit LeisureQuest to find more guides, gear suggestions, and inspiration: LeisureQuest.
FAQs — DIY workbench
What materials do I need to build a basic DIY workbench?
Start with a sturdy top (3/4″ plywood or MDF), framing lumber (2x4s) or a modular kit, and reliable legs. Add screws, wood glue, brackets, and adjustable shelf hardware if you want storage. For backyard setups, use pressure-treated wood or weather-resistant finishes. Optional: pegboard, magnetic strips, and a LINK-style accessory rail for small parts.
What tools should a beginner have before starting?
A cordless drill with bits, tape measure, level, clamps, and a circular saw or jigsaw cover most cuts. A screwdriver, hammer, and socket set help with hardware. If you buy an all-in-one kit, expect fewer cutting tasks and mostly fasteners. Always wear safety glasses, hearing protection, and a dust mask for cutting or sanding.
How do I choose the right size and height for my bench?
Measure your available space first. Depths of 24–30 inches suit most tasks. Start with a 2×4-foot module for compact areas or a 4×8-foot surface for bigger projects; combine modules for longer or L-shaped layouts. A 35″ work height is comfortable for many users — adjust if you are significantly taller or shorter.
How much should I budget for a beginner-friendly setup?
Materials for a simple DIY bench can run $50–$300 depending on top material and storage. Modular kits vary: some budget kits are under $150, while premium systems cost more. The Ryobi Framework Workbench is an entry-level kit expected around $100 and targets easy assembly and upgradeability.
Are assembly and upgrades difficult for beginners?
No. Follow kit instructions and take the build step-by-step. Inventory parts, pre-drill where recommended, and level the bench before final tightening. Start with one module, add shelves or a LINK rail later, and anchor the bench when you add heavy tools. Regularly check and retighten hardware as you use the bench.