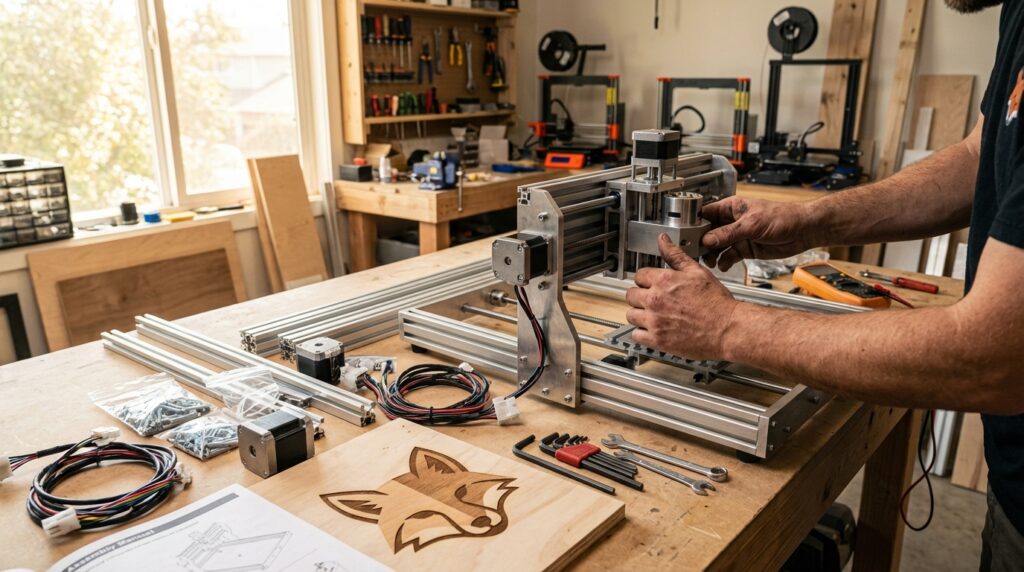
Introduction
Home Assistant DIY Projects are an inviting way to move from curiosity to working smart-home and robotics skills. Beginner maker projects give clear, hands-on wins. They teach electronics, coding, and system thinking without overwhelming you.
This article centers on two approachable starting points: the Robotics Dream Keeper challenge and making your first printed circuit board. The Robotics Dream Keeper challenge frames learning as a playful objective. It guides you through sensors, actuators, and basic control logic while keeping the project compact and achievable. Building your first PCB turns a breadboard prototype into a reliable, repeatable gadget. That step introduces EDA software, layout basics, and manufacturing considerations.
Together these projects accelerate your confidence. You’ll learn to choose parts, read simple schematics, and design one-off automations that tie into Home Assistant. Expect practical tips, recommended tools, and step-by-step checkpoints that prevent common beginner mistakes. Read on to find project-ready instructions, small design patterns you can reuse, and realistic timelines for finishing your first robot and PCB.
PCB Design and the Robotics Dream Keeper Challenge
Home Assistant DIY Projects: why PCBs and the Dream Keeper matter
The Robotics Dream Keeper challenge pairs a compact robotics objective with a simple electronics workflow. It gives structure to experiments: pick the behavior you want, choose sensors and actuators, then iterate hardware and firmware. Along the way you’ll move from breadboard messes to a clean PCB that survives repeated use.
Basics of modern PCB design (and why EDA software is critical)
Nearly all modern PCBs are designed with the help of EDA software. That matters because EDA tools turn a schematic into manufacturable files, check electrical rules, and manage footprints and nets. For beginners, EDA reduces manual errors and enforces constraints that are hard to see on a breadboard.
Practical PCB workflow for beginners:
- Start with a clear schematic. Capture parts, power rails, and interfaces first.
- Choose correct footprints. Use vendor-verified libraries or manufacturer datasheets.
- Keep it simple: use a two-layer board unless you need more layers.
- Place components with serviceability in mind: connectors and programming headers first.
- Route traces, prioritizing power and critical signals. Use wider traces for power.
- Add a ground plane and run a design rule check (DRC).
- Export Gerbers and an NC drill file. Review them in a Gerber viewer before ordering.
Recommended beginner EDA tools: KiCad (free, full-featured) and EasyEDA (web-based, quick). Both handle schematic capture, PCB layout, and Gerber export. Use the built-in 3D viewer to verify component orientation.
Ordering tips:
- Buy small prototype runs from budget fabs. Expect low costs for 2-layer boards.
- Include silkscreen labels and a clear BOM for assembly.
- Order a few spare PCBs to allow for iteration.
Applying this to the Robotics Dream Keeper
Break the Dream Keeper into phases:
- Prototype: assemble sensors and motors on a breadboard. Validate behavior.
- Firmware: write minimal control code on an ESP32, RP2040, or Arduino. Implement safety stops and test loops.
- PCB: capture the final schematic in an EDA tool and move to layout.
- Integration: expose sensors and status to Home Assistant via MQTT or ESPHome for automations and remote testing.
Practical starter parts: microcontroller board (ESP32 dev), ultrasonic or IR sensors, two DC motors or smart servos, power regulator, and mounting hardware.
Debugging checklist: confirm power rails under load, check pin mappings, run DRC on the PCB, and test each subsystem separately before full assembly.
Taken together, EDA-guided PCB design and a phased Dream Keeper build give beginners clear milestones and repeatable results. You’ll finish with a working robot and a reliable PCB you can reuse in other Home Assistant DIY Projects.
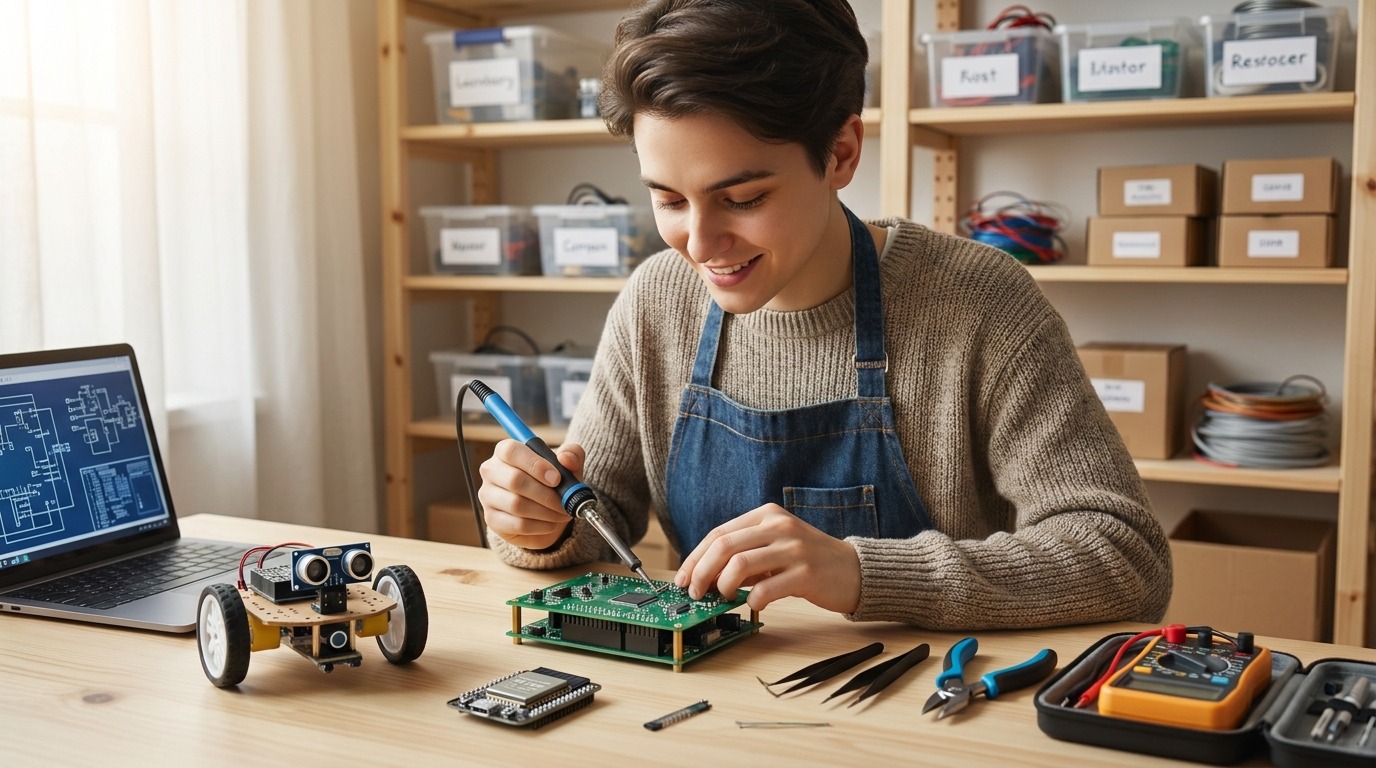
Home Assistant DIY Projects: integrate robots, sensors, and smart devices
Turning a prototype into a useful smart-home component means more than wiring parts together. This section focuses on practical ways to fuse sensors, automations, robot vacuums, and AI-driven logic into Home Assistant so your DIY builds do real work.
Design automations that solve one problem
Start with a single, testable automation. Examples:
- Pause a robot vacuum when the Dream Keeper is active, avoiding collisions.
- Send an error alert if a motor current spike occurs or a temperature sensor reports out-of-range values.
- Trigger a “return to base” when battery percentage falls below a safe threshold.
Keep conditions explicit. Add time, zone, or state checks to avoid repeated false triggers.
Sensor and entity best practices
- Give entities meaningful, consistent names and unique_ids. It simplifies automations and templates.
- Debounce noisy sensors in firmware to avoid event storms. Sample and average where possible.
- Expose both raw and processed values to Home Assistant (for example, raw ADC and calibrated temperature).
- Use binary_sensor for boolean states and sensor for measurements. This improves UI and automation readability.
Messaging and reliability
- Use MQTT with retained discovery for device persistence. Structure topics clearly: home/<device>/<component>/state.
- Choose QoS=1 for important state updates and QoS=0 for high-frequency telemetry.
- Keep payloads small and use JSON only when multiple fields need publishing.
Error alerts and maintenance automations
Automate checks that reduce manual maintenance:
- Notifications: push, email, or webhooks when temperature, motor current, or connectivity fails.
- Self-heal: restart a service or toggle a power outlet if the device becomes unresponsive.
- Scheduled diagnostics: run a short test sequence nightly and report status.
AI automation and advanced flows
Add lightweight AI to reduce false alarms and enable smarter behaviors:
- Use simple anomaly detection (rolling average, standard deviation) on sensor streams before alerting.
- Route complex decision-making to Node-RED or a local ML service; forward decisions back to Home Assistant as triggers.
- For privacy and speed, prefer local inference for safety-critical logic.
Example conceptual automation (YAML-like)
automation:
  - alias: "Pause vacuum for Dream Keeper"
    trigger:
      - platform: state
        entity_id: input_boolean.dream_keeper_active
        to: 'on'
    action:
      - service: vacuum.pause
        target:
          entity_id: vacuum.living_room
Practical planning, clear naming, and staged automation tests will help your DIY robot and PCB projects become reliable parts of a smart home ecosystem.
| Category | Tool / Platform | Best for | Pros | Cons | Notes |
|---|---|---|---|---|---|
| EDA | KiCad | Beginners to advanced PCB design | Free, offline, strong community, 3D viewer | Steeper learning curve than web tools | Exports Gerbers, ideal for two-layer prototypes |
| EDA | EasyEDA | Quick web-based PCB layout | Web-based, integrated ordering, simple UI | Less flexible for complex boards, cloud storage | Good for rapid prototypes |
| EDA | Altium Designer | Professional complex boards | Powerful features, advanced rule checking | Expensive, steep learning curve | Overkill for simple maker projects |
| Microcontroller | ESP32 Dev Kit | Wi-Fi/Bluetooth IoT projects | Low cost, built-in Wi‑Fi/Bluetooth, many libraries | Higher power draw than tiny MCUs | Works well with ESPHome and MQTT |
| Microcontroller | Raspberry Pi Pico (RP2040) | High-performance embedded tasks | Dual cores, low cost, flexible I/O | No built-in Wi‑Fi (unless Pico W) | Great for motor control and sensors |
| Microcontroller | Arduino Uno | Simple embedded control | Easy to learn, huge community | Limited memory and performance | Good for straightforward robotics basics |
| Sensor | HC-SR04 Ultrasonic | Distance sensing for robots | Cheap, easy to use | Affected by soft surfaces, narrow cone | Common for obstacle avoidance |
| Sensor | MPU6050 IMU | Orientation and motion sensing | Accelerometer + gyroscope, compact | Requires filtering and calibration | Useful for balance and gesture detection |
| Sensor | DHT22 / AM2302 | Temperature and humidity | Simple single-wire interface | Slow sampling and lower precision | Useful for environmental triggers |
| Programming | ESPHome | Home Assistant integration | Auto-discovery, YAML config, OTA updates | Limited custom code complexity | Ideal for Home Assistant DIY Projects |
| Programming | Arduino IDE / PlatformIO | Firmware development and builds | Vast libraries; easy uploads (IDE); robust build system (PlatformIO) | Manual dependency handling in IDE; PlatformIO has learning curve | PlatformIO recommended for larger projects |
| Programming | MicroPython | Python-based microcontroller development | Fast iteration; readable code | Some libraries missing; lower performance | Good for beginners familiar with Python |
Conclusion
Starting with Home Assistant DIY Projects is one of the most effective ways to learn practical electronics, embedded software, and home automation. Beginner-friendly challenges like the Robotics Dream Keeper and building your first PCB provide clear milestones. They turn abstract skills into repeatable outcomes and reduce the intimidation of larger projects.
These small, structured experiments teach component selection, sensor handling, firmware basics, and how to make a reliable PCB using EDA tools. They also create natural entry points for useful automations: exposing sensor data, sending error alerts, and coordinating devices like robot vacuums. Each completed build becomes a reusable block for more ambitious automations and smarter, privacy-friendly AI flows.
LeisureQuest exists to inspire this kind of playful learning. Our mission is to help people explore, play, and keep learning by turning spare hours into meaningful quests. Whether you solder your first board, finish a Dream Keeper prototype, or wire a sensor into Home Assistant, LeisureQuest helps you make progress and stay curious.
Ready to start? Visit LeisureQuest to find guides, project ideas, and community support: LeisureQuest.
Keep experiments small, test in stages, and celebrate every working circuit. The maker path is cumulative — each small win builds confidence for the next project.
Frequently Asked Questions (FAQs)
How do I get started with Home Assistant DIY Projects if I’m a complete beginner?
Pick one small, achievable project. The Robotics Dream Keeper or a single-sensor PCB are ideal. Learn to wire a breadboard, flash a simple microcontroller sketch, and validate behavior before designing a PCB. Use stepwise milestones: prototype, firmware, PCB, and integration. Follow one tutorial end-to-end and iterate.
Do I need EDA software to make my first PCB?
Yes for a repeatable, manufacturable board. EDA tools handle schematics, footprints, DRC, and Gerber export. Beginners should try KiCad or EasyEDA. If you only want a basic experiment, use perfboard or a prototyping shield first, then move to EDA when you need reliability.
Which microcontroller should I choose for a small robotics project?
Choose by features you need. ESP32: best for Wi‑Fi and Home Assistant integration. RP2040 (Pico): strong for motor control and low cost. Arduino Uno: easiest for basic robotics. Pick the smallest board that meets I/O and communication needs.
What’s the simplest way to integrate a DIY robot with Home Assistant?
Use ESPHome for plug-and-play YAML integration or MQTT for flexible messaging. Expose sensor states and binary flags. Start with one automation and test it. Keep topics and entity names consistent for easier debugging.
What quick safety and debugging checks should I run before powering up?
Verify power polarity and voltage levels. Run a design rule check (DRC) on PCBs. Test subsystems individually under load. Add fuses or current limits for motors. Enable logs and OTA recovery for firmware troubleshooting.