Raspberry Pi projects and choosing prebuilt PCs are the perfect weekend starting points for hobbyist tinkerers and new builders. If you enjoy hands-on work, quick wins, and gadgets that actually do something useful, this guide is for you. Over one or two afternoons you can assemble a compact Pi-powered gadget or decide whether a DIY desktop or a ready-made machine makes more sense for your needs.
We’ll walk through approachable Raspberry Pi builds that reward learning and show practical criteria to evaluate prebuilt PCs. Expect clear parts lists, simple assembly steps, and decision checklists that focus on cost, performance, and upgradeability. No prior experience is required—just curiosity, a screwdriver, and an eagerness to experiment.
By the end you will have a realistic weekend plan, whether you choose a small Pi project to extend your maker skills or jump into building or buying a prebuilt PC that fits your budget and goals.
Raspberry Pi projects and choosing prebuilt PCs — three hands-on weekend builds
If you want small, rewarding projects that teach practical skills fast, try one of these Raspberry Pi weekend builds. Each example below includes parts, a short how-to, and ideas to extend the project. They use common add-ons—InkyPi e‑ink displays, touchscreens, and small Stream-Pi/Terminus-style kits—plus software options like Docker so beginners can scale complexity at their own pace.
Speedtest-Tracker (DIY network monitor)
Parts
- Raspberry Pi 4 or 3B+ (ethernet recommended)
- microSD (16–32 GB), reliable PSU
- Optional: small case, heatsink
Why build it
- Keeps a time-stamped record of bandwidth over days or weeks.
- Low power and always-on; useful for troubleshooting ISP issues.
Quick how-to
- Flash Raspberry Pi OS and enable SSH.
- Install Docker (optional for isolation) or run a simple Python script.
- Pull or clone a Speedtest-Tracker implementation and configure storage path.
- Run the container/script and verify results in a browser dashboard or CSV.
Extensions
- Push results to Grafana or a lightweight web UI.
- Add a small touchscreen or InkyPi to display recent readings.
Motivational display (InkyPi e‑ink or small touchscreen)
Parts
- Raspberry Pi Zero 2 W or Pi 3, InkyPi or other e‑ink HAT, microSD, power
- Optional: small frame or 3D-printed stand
Features and benefits
- Ultra-low power when updating infrequently.
- Readable in bright light; looks neat on a desk.
Step-by-step
- Attach the InkyPi HAT and secure with standoffs.
- Install required Python libraries (Pillow, inky).
- Build a script that cycles quotes, weather, or calendar items.
- Trigger updates via cron or a webhook (push from phone or IFTTT).
Advanced ideas
- Use a touchscreen instead of e‑ink for interactive menus.
- Display notifications from a Terminus/Stream-Pi device or your home server.
Macro keypad (program your own shortcuts)
Parts
- Raspberry Pi Pico (or any Pi that supports USB gadget mode)
- Mechanical switches or buttons, keycaps, small enclosure
Why it’s useful
- Automate repetitive typing or app shortcuts.
- Learn USB HID basics and simple electronics.
How to build
- Wire switches to GPIO or use a Pico with native USB.
- Load a small script (CircuitPython or MicroPython) that sends HID keycodes.
- Test with a host computer; map keys to macros in your favorite apps.
Customization
- Add a tiny OLED for labels.
- Use stream-deck-style layouts with multi-layer key maps.
Practical tips for all projects
- Always image the microSD before experimenting.
- Start simple: one feature working end-to-end beats half-done complexity.
- Use Docker when you want reproducible installs and easy rollbacks.
- Keep a small toolkit: jumper wires, multimeter, screwdriver, static wrist strap.
Time estimates
- Speedtest-Tracker: 1–3 hours (longer if you add dashboards).
- Motivational display: 2–4 hours.
- Macro keypad: 2–6 hours depending on enclosure and firmware.
These projects teach networking, Python scripting, hardware assembly, and basic firmware concepts. Pick one that matches your interest, then iterate: add a touchscreen, containerize with Docker, or upgrade the enclosure with a Terminus/Stream-Pi kit.
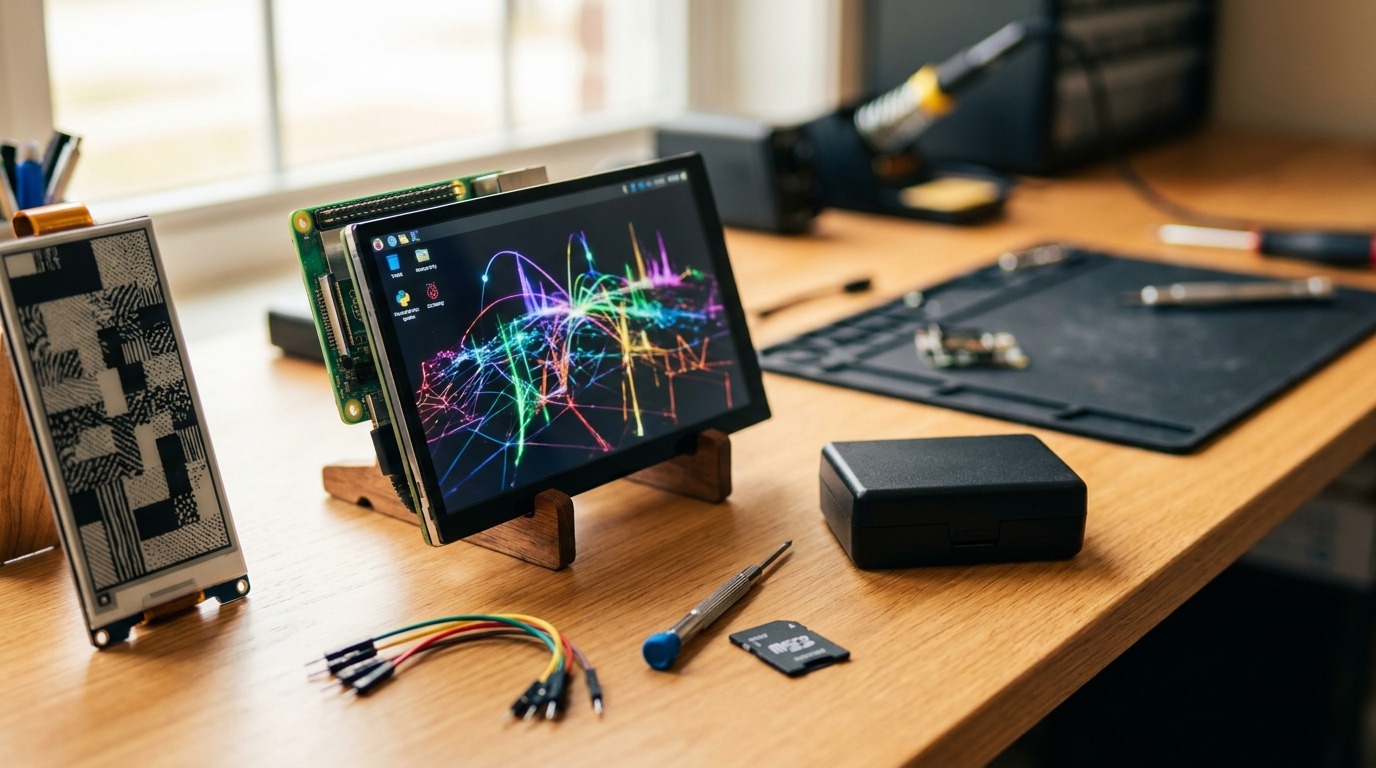
Raspberry Pi project on a tidy hobbyist workbench — ideal for illustrating weekend builds.
| Factor | Choosing prebuilt PCs | DIY PC build |
|---|---|---|
| Typical initial cost | Often higher for equivalent specs due to assembly and warranty. | Can be lower if you shop deals, or higher with premium parts. |
| Long-term cost & upgrades | Limited; some OEMs restrict upgrades. Easier with standard desktop models. | Cheaper to upgrade over time. Swap CPU, GPU, or storage easily. |
| Customization | Limited to offered configurations and case options. | Complete control over every component and aesthetics. |
| Performance (gaming PC suitability) | Good out of box; expect mid-to-high tiers. Example: prebuilt with RTX 4060 performs well for 1080p/1440p. | Maximum performance control. Choose GPU like Nvidia RTX 4060 or better. Optimize cooling and power. |
| Ease of assembly & setup | Plug-and-play. Minimal setup time and no assembly errors. | Requires time and care. Risk of compatibility mistakes for newcomers. |
| Warranty & support | Single-vendor warranty; easier RMA and technical support. | Individual part warranties. More complex troubleshooting and returns. |
| Time investment | Low. Ideal for quick weekend-ready systems. | Higher. Building takes hours and learning time. |
| Parts availability & compatibility | Vendor handles compatibility; limited part choice. | Need to research sockets, PSU capacity, and case clearance. |
| Learning & satisfaction | Low learning curve. Less learning reward. | High educational value. Great for skill building and confidence. |
| Repairability | Easier if vendor provides onsite support; otherwise returns. | Highly repairable. Swap failed components yourself. |
| Resale & future-proofing | May depreciate faster if proprietary parts used. | Easier to reuse or sell individual components. |
Tip: If you want a faster start, choose a standard prebuilt from a reputable brand. If you value learning and upgrades, plan a DIY build with a clear parts list and compatibility check.
Beginner-friendly PC/D.I.Y. practices and essential tips
This section gives practical, low-friction advice for first-time builders. Read it before buying parts or taking screws out of a case.
Getting started: mindset and planning
- Start with a clear use case: basic workstation, gaming PC, or media server.
- Set a realistic budget and list must-have features.
- Sketch a parts list and check compatibility before you buy.
Motherboard form factors and a quick historical note
- Common form factors: ATX, Micro‑ATX, Mini‑ITX.
- ATX established the modern standard in 1995 and remains common for desktops. Choose a form factor that fits your case and expansion needs.
- Quick context: early processors like the Intel 8086 helped seed the hobbyist PC movement. That history explains why standards and parts are so accessible today.
CPU cooling and thermal paste: practical tips
- Choose the correct cooler for your CPU TDP (stock cooler vs aftermarket air or AIO liquid).
- Apply thermal paste sparingly: a pea-sized drop in the center is usually best. The pressure of the cooler spreads the paste evenly.
- Avoid smearing paste before mounting; reapply when removing a cooler.
- Check temperatures after first boot and run a stress test for stability.
Beginner-friendly hardware recommendations
- Motherboards: pick a reputable brand like ASUS for straightforward BIOS and support.
- GPUs: for 1080p/1440p gaming, mid-range cards such as an Nvidia RTX 4060-class offer good value.
- Laptops (if you prefer prebuilt): the ROG Zephyrus G14 is an example of a compact gaming laptop with strong performance.
- PSU: choose a quality unit with a little headroom. Look for 80+ Bronze or better.
Workspace, tools, and safety
- Use a clean, flat surface with good lighting.
- Essential tools: Phillips screwdriver set, zip ties, thermal paste, anti-static wrist strap, and a flashlight.
- Ground yourself and avoid working on carpet to reduce static risk.
Common beginner mistakes and troubleshooting
- Mistake: not checking CPU socket or cooler clearance. Fix: read dimensions before buying.
- Mistake: poor cable management leading to airflow issues. Fix: route cables behind the tray and use ties.
- Mistake: over-tightening standoffs or screws. Fix: snug, not forced.
Final quick checklist before first boot
- All power connectors seated (24-pin, CPU 8-pin, GPU power).
- RAM fully clicked into slots.
- Storage recognized in BIOS.
- Cooler mounted and fan headers connected.
Follow these steps and you’ll cut setup time and risk. For help with a parts list or compatibility checks, apply the same planning approach and ask targeted questions.
CONCLUSION
Weekend tech projects are an excellent way to turn curiosity into tangible skills. Whether you start with a compact Raspberry Pi gadget or weigh Raspberry Pi projects and choosing prebuilt PCs for a larger setup, the real value is the same: learning by doing, having fun, and solving small, satisfying problems along the way.
Keep expectations modest for your first few builds. Small wins—getting a Pi to display information, or deciding between a ready-made system and a custom build—build confidence faster than trying to master everything at once. Treat each project as practice: iterate, experiment, and reuse parts across future projects.
For a steady stream of ideas and clear next steps, consult LeisureQuest. It’s a curated guide to quality leisure time that helps answer the question, “What should I do now?” Visit LeisureQuest to find projects, checklists, and inspiration tailored to hobbyists and beginners.
Above all, view these weekend projects as play with purpose. They teach practical skills, open pathways to deeper learning, and make spare hours feel productive. Start small, stay curious, and enjoy the process of exploration and discovery.
Frequently Asked Questions (FAQs)
Can I start Raspberry Pi projects with no prior experience, and what are the best Raspberry Pi projects for beginners?
Yes. Start with focused, weekend-friendly projects that teach one skill at a time. Good beginner-friendly examples include network monitors (Speedtest-Tracker), simple info displays using an Inky e‑ink HAT, and macro keypads. See the Speedtest-Tracker repo for a practical, well-documented network-monitor project. For low-power displays, Pimoroni’s Inky pHAT is a reliable choice: Inky pHAT.
How should I secure a Raspberry Pi on my home network?
Use SSH keys instead of passwords, create non-root users, keep the OS updated, disable unused services, and prefer a VPN for remote access. If you run containers, isolate services with Docker and avoid exposing management UIs directly to the internet.
Can I run Docker on a Raspberry Pi to manage hobbyist tech projects?
Yes—many hobbyist tech projects run in containers. Follow the Docker install guide for Raspberry Pi OS: Docker Install Guide. To manage containers visually on small Pis, try Portainer.
How do I decide between choosing a prebuilt PC and building my own? Any DIY PC tips?
Decide on priorities: immediacy and vendor warranty (prebuilt) vs customization and upgradeability (DIY). For DIY PC tips, start with a clear parts list, use a compatibility tool like PCPartPicker to avoid socket/clearance mistakes, and budget for a quality PSU.
Can I make a macro keypad or USB HID device with a Pico?
Yes. The Pico works well as a USB HID device using CircuitPython; Adafruit’s HID guide is a good step-by-step resource: Adafruit HID Guide.
Where can I find more project tutorials and product recommendations for hobbyist tech projects?
Start with the links above (Speedtest-Tracker, Pimoroni Inky, Docker, Portainer, PCPartPicker, Adafruit). Combine those tutorials with community forums (Reddit’s r/raspberry_pi or maker Discords) and curated project lists when searching for the “best Raspberry Pi projects” or targeted DIY PC tips.